Documentation Index
Fetch the complete documentation index at: https://trunk-4cab4936-sam-gutentag-flaky-tests-new-monitors.mintlify.app/llms.txt
Use this file to discover all available pages before exploring further.
One-click setup
Use the “Add to Cursor” action to add the Trunk MCP server:
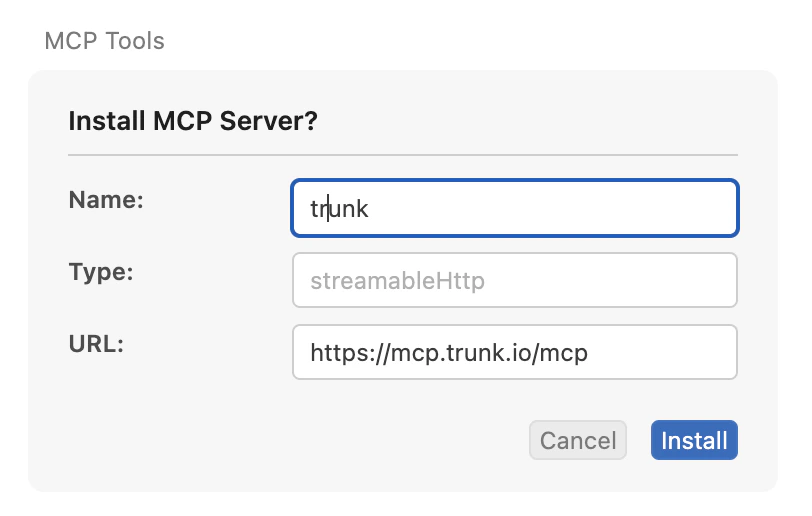
Alternative: Update MCP configuration
Add the following configuration to your project’s.cursor/mcp.json file. If you want to enable it only for yourself, add it to ~/.cursor/mcp.json instead.
Authentication with OAuth (default)
After the MCP server was added to Cursor, users need to authorize Cursor to communicate with the server. Follow these steps to complete auth. Step 1: Open MCP Settings RunCMD+Shift+P to open the command palette and choose View: Open MCP Settings
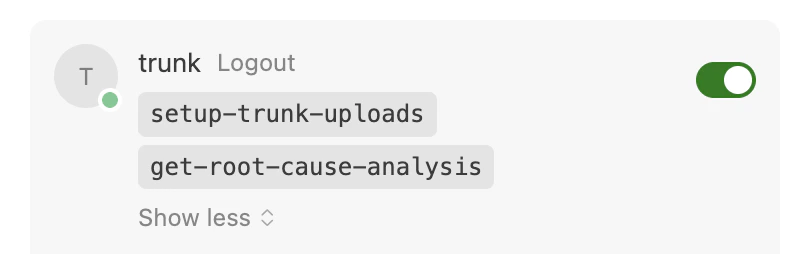
Step 2: Enable the Trunk MCP server
A “Needs authentication” status will be shown:

Alternative: Authentication with API token
If you prefer not to use the OAuth flow, you can authenticate with your Trunk organization API token. Find your token under Settings > API in the Trunk dashboard. Add the token to your.cursor/mcp.json:
TRUNK_API_TOKEN as an environment variable. Cursor interpolates environment variables in MCP configuration files automatically.